Digispark
Repository| Issues
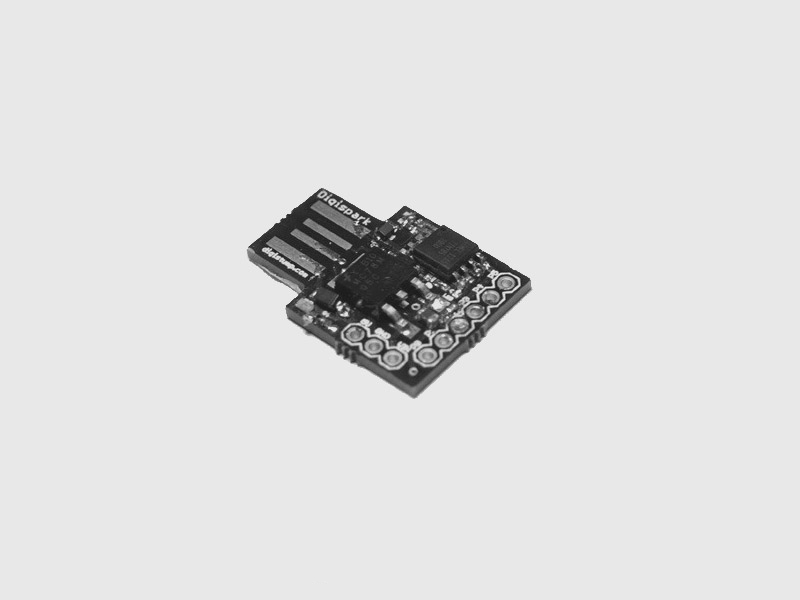
The Digispark is an Attiny85 based microcontroller development board similar to the Arduino line, only cheaper, smaller, and a bit less powerful. With a whole host of shields to extend its functionality and the ability to use the familiar Arduino IDE, the Digispark is a great way to jump into electronics, or perfect for when an Arduino is too big or too much.
For more info about the Digispark platform click here.
How to Install
Installing the cylon-digispark requires the libusb package already be installed.
OSX
To install libusb on OSX using Homebrew:
$ brew install libusb
Ubuntu
To install libusb on linux:
$ sudo apt-get install libusb-dev
Windows
No instructions yet…
Installing
Now you can install the module with:
$ npm install cylon cylon-digispark
If you're experiencing the AttributeError: 'module' object has no attribute 'script_main' build issue, then please refer to this comment
How to Use
This small program lets you toggle an LED on and off.
var Cylon = require('cylon');

Cylon.robot({
  connections: {
    digispark: { adaptor: 'digispark' }
  },

  devices: {
    led: { driver: 'led', pin: 2 }
  },

  work: function(my) {
    every((1).seconds(), function() { my.led.toggle() });
  }
}).start();
How to Connect
Upload the Littlewire Firmware to the Digispark
Connecting to the Digispark ATTiny-based USB development board is very easy using Cylon, first we need to install the littlewire protocol to communicate with the digispark, Cylon includes CLI commands to make the process of uploading Littlewire to the digispark as simple as possible, after Littlewire has been uploaded you can connect and communicate using Cylon.
OSX
IMPORTANT: 2012 MBP The USB ports on the 2012 MBPs (Retina and non) cause issues due to their USB3 controllers, currently the best work around is to use a cheap USB hub (non USB3) - we are working on future solutions. The hub on a Cinema display will work as well.
DO NOT plug in the Digispark to your computer's USB port until prompted.
Install the cylon-digispark module:
$ npm install cylon-digispark
After installing the cylon-digispark npm module run the following command to upload littlewire to the digispark, plug it to a USB port when prompted:
$ gort digispark upload
Once plugged in, use the cylon scan usb command to verify your connection info:
$ gort scan usb
Now use the ID info returned to find the product and vendor ID's required to establish a connection with the Digispark in your Cylon code.
That is it, you are set to start running Cylon digispark examples.
Ubuntu
DO NOT plug in the Digispark to your computer's USB port until prompted.
Install the cylon-digispark npm module:
$ npm install cylon-digispark
After installing the cylon-digispark module run the following command to upload littlewire to the digispark, plug it to a USB port when prompted. You might be asked to enter your sudo password, since uploading littlewire to the digispark requires some new udev rules, you can check and review them in /etc/udev/rules.d/49-micronucleus.rules after running the gort digispark set-udev-rules command:
$ gort digispark upload
Once plugged in, use the cylon scan usb command to verify your connection info:
$ gort scan usb
Now use the ID info returned to find the product and vendor ID's required to establish a connection with the Digispark in your cylon code.
That is it, you are set to start running Cylon digispark examples.
Thanks to @bluebie for the help with udev rules used when uploading littlewire to the digispark! (https://github.com/Bluebie/micronucleus-t85/wiki/Ubuntu-Linux)
Windows
We are currently working on docs and instructions for Windows. Please check back soon!
Drivers
Cylon.JS' communication with the Digispark relies on using the Littlewire protocol. This allows for interaction with a wide range of I/O hardware devices and interfaces, using a set of previously-defined and easy-to-use drivers.
Available drivers for the Digispark platform are listed below.